Cursive Writing for Kids: When to Start and How to Teach Joined Handwriting at Home
⚡ In short
A parent's guide to cursive writing for kids: the right age to start, letter families, a 6-week practice plan, posture tips and fixes for messy handwriting.
Neat handwriting still matters. Teachers notice it, examiners read it, and children feel proud when their notebook looks good. In many Indian schools, cursive writing (also called joined handwriting or running handwriting) begins in Class 2 or 3, and parents often find themselves wondering how to help at home.
The good news is that cursive is not difficult to learn when it is taught in the right order. Most cursive letters are built from just a few basic strokes. Once a child masters those strokes and learns which letters belong to the same "family," joining letters becomes natural.
This guide explains when to start, what to teach first, a simple 6-week plan, and how to fix the most common handwriting problems.
What Is Cursive Writing?
Cursive writing is a style where the letters in a word are joined together in one flowing movement, usually without lifting the pencil until the word is finished. Print writing, in contrast, forms each letter separately.
In Indian schools, cursive is usually practised in a four-line notebook, where:
- The top line marks the height of tall letters like b, d, h, k, l.
- The two middle lines hold the body of every letter, like a, c, e, m, n, o.
- The bottom line marks the tails of letters like g, j, p, q, y.
Learning to place each letter correctly on these four lines is half the work of good cursive.
When Should Kids Start Cursive Writing?
Most children are ready for cursive between 6 and 8 years of age, usually in Class 2 or 3. Many handwriting specialists, including the UK's National Handwriting Association, recommend that children first learn to form individual print letters correctly before they start joining them.
Age alone is not the best signal. Look for these readiness signs:
- Your child can write all lowercase and capital letters correctly from memory.
- They form letters starting at the right point (for example, a starts at the top of the curve, not at the bottom).
- They hold the pencil in a comfortable tripod grip.
- They can copy simple patterns like waves, loops and zig-zags.
- They can sit and write for 10 to 15 minutes without getting very tired.
If your child is still struggling with print letters, spend a few more weeks on basic tracing first. Our guide on alphabet and number tracing worksheets for preschoolers is a good place to start.
Benefits of Learning Cursive
Faster Writing
Because the pencil stays on the paper, cursive is often faster than print once a child is fluent. This helps in higher classes when answers get longer.
Fewer Letter Reversals
Children who mix up b and d often find cursive helpful, because the two letters are formed with very different movements.
Better Spacing Between Words
Joined letters naturally group into words, so the gaps between words become clearer and more consistent.
Stronger Fine Motor Control
The flowing curves and loops of cursive build hand control, rhythm and pencil pressure. These skills help in drawing and art too.
Confidence and Pride
Many children see cursive as "big kid writing." Mastering it gives a real sense of achievement.
The Basic Strokes of Cursive
Before letters, practise the strokes that build them. Spend two or three days on these patterns:
- Under-curve: a smooth upward swing, like a smile. This starts most letters.
- Over-curve: a hump that goes up and over, used in m, n, v, x.
- Down-curve: a curve that moves left and down, used in a, c, d, g, o, q.
- Loops: tall loops for b, e, f, h, k, l and low loops for g, j, y, z.
- Slant lines: straight down strokes that keep all letters leaning the same way.
Simple pattern rows such as llll, eeee, uuuu and mmmm are excellent warm-ups before every session.
Teach Cursive Letters in Families
The secret to easy cursive is not teaching a to z in order. Instead, group letters by the stroke they start with. Children then learn one movement and use it for several letters.
| Letter family | Letters | Starting stroke |
|---|---|---|
| Under-curve letters | i, t, u, w, r, s, p, j | Small upward swing |
| Loop letters | e, l, h, k, b, f | Upward swing into a tall loop |
| Down-curve (magic c) letters | c, a, d, o, g, q | Curve like the letter c |
| Over-curve (hump) letters | n, m, v, x, y, z | Hump that goes up and over |
Lowercase First, Capitals Later
Lowercase letters make up most of what children write, and they join to each other. Teach all lowercase families first, then move to capitals. Capital cursive letters are more decorative and are easier once the hand is relaxed.
Tricky Joins to Practise Separately
Letters that end high on the line, such as b, o, v, w, connect differently to the next letter. Practise these joins on their own: br, oo, ve, wh, on, wa.
A 6-Week Cursive Practice Plan
This plan needs about 15 minutes a day. Use a four-line notebook or a cursive workbook with guided dotted letters.
Week 1: Strokes and Patterns
- Daily warm-up: under-curves, over-curves, loops.
- Write rows of eee, lll, uuu, mmm with even size and slant.
Week 2: Under-Curve Letters
- Learn i, t, u, w first, then r, s, p, j.
- Join them into short words: it, tip, us, wit, sip.
Week 3: Loop Letters
- Learn e, l, h, k, b, f.
- Practise words: bell, hill, life, feel, kite.
Week 4: Magic-c Letters
- Learn c, a, d, o, g, q.
- Practise words: cat, dog, good, cold, dad.
Week 5: Hump Letters and Tricky Joins
- Learn n, m, v, x, y, z.
- Practise the "high" joins: on, vo, br, wh, oo.
Week 6: Capitals, Words and Sentences
- Learn capital letters, two or three a day.
- Copy short sentences: My cat is fat., The sun is hot.
- Finish the week by writing the child's own name in cursive.
After six weeks, keep a short daily habit: one sentence copied neatly in cursive every evening is enough to keep improving.
Posture, Grip and Paper Position
Handwriting is not only about the hand. Small changes in posture often make a big difference.
- Feet flat on the floor, back straight, table at elbow height.
- Tripod grip: the pencil rests on the middle finger and is held by the thumb and index finger, about 2 cm from the tip.
- Relaxed pressure: if the paper has deep grooves or the lead keeps breaking, your child is pressing too hard.
- Paper tilt: right-handed children tilt the notebook slightly to the left; left-handed children tilt it to the right. This makes the slant come naturally.
- Helper hand: the non-writing hand holds the paper steady.
Common Cursive Problems (and Easy Fixes)
Letters of Different Sizes
Use a four-line notebook every time. Point out where each letter "lives": body letters stay between the middle lines, tall letters touch the top line, tail letters reach the bottom line.
Slant Going in All Directions
Draw a few light slant lines on the page as a guide. Remind your child that all letters "lean the same way, like trees in the wind."
Lifting the Pencil Too Often
Practise a whole word without lifting the pencil, then dot the i and cross the t at the end. Make it a game: "Can you write little in one go?"
Letters Too Close or Too Far Apart
Teach the "finger space" between words and the "small join" between letters. A worksheet with spacing guides helps a lot in the first few weeks.
Tired Hand or Slow Writing
This usually means a tight grip or too much pressure. Short warm-ups such as squeezing playdough, tearing paper and drawing big loops on a whiteboard can help relax the hand.
Left-Handed Children Smudging Work
Tilt the paper to the right, keep the wrist below the writing line, and use pencils instead of gel pens in the early weeks.
How to Make Cursive Practice Fun
- Rainbow writing: write each word three times in three different colours.
- Name card project: your child writes family members' names in cursive for the dinner table.
- Gratitude line: one cursive sentence every night about something good that happened.
- Postcard to grandparents: a real reason to write neatly.
- Sky writing: write giant letters in the air with the whole arm before writing on paper.
Frequently Asked Questions
What is the right age to start cursive writing?
Most children start between 6 and 8 years, after they can write all print letters correctly. Some schools start earlier, but print letter control should come first.
Should I teach cursive capital letters or small letters first?
Start with small letters. They are used far more often, they join to each other, and they are simpler to form. Add capitals once lowercase joins are smooth.
How long does it take to learn cursive?
With 15 minutes of daily practice, many children learn all the letter shapes in 4 to 6 weeks. Writing fluently and neatly at speed may take a few months.
Does cursive really improve handwriting?
For many children, yes. It encourages consistent slant, spacing and letter size. But the biggest improvement comes from regular, short practice, not from the style alone.
My child's handwriting got worse after starting cursive. Is that normal?
Yes, a short dip is common while the hand learns new movements. Slow down, go back to letter families, and focus on neatness over speed. Most children improve again within a few weeks.
Conclusion
Cursive writing for kids does not need to be stressful. Start when your child can write print letters confidently, warm up with basic strokes, teach letters in families, and keep practice short and regular. Within a few weeks, you will see letters joining smoothly and words flowing across the page.
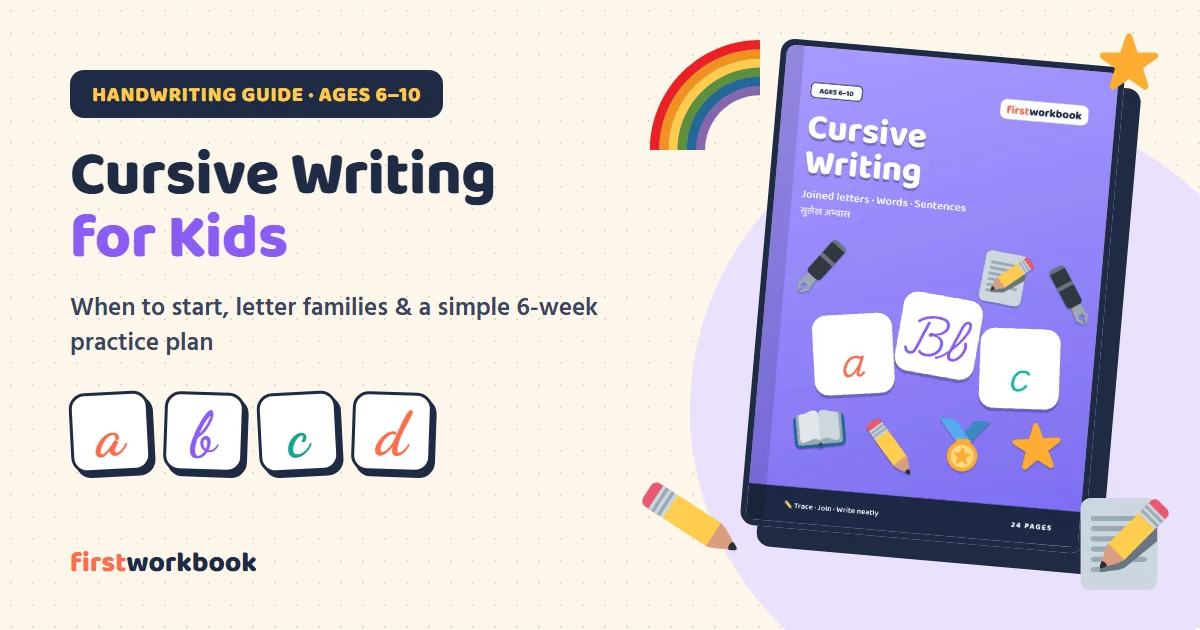
Want a ready-made practice plan? Our Cursive Writing Practice book takes children from joined letters a–z and A–Z to words and sentences, all on four-line notebook ruling. For younger children still building pencil control, the Alphabet Workbook A–Z is the perfect first step.